Recently I came across K8sQuest. It is a gamified learning platform where we get familiar with Kubernetes through different missions, where something will break… and we will have to diagnose and fix it. It runs completely locally, using Kind (Kubernetes in Docker/Podman) to spin up under the hood the cluster we will interact with.
When running the installer, it tries to install the cluster with Kind, but since I use Podman in rootless mode (without root privileges) on my machine, I hit a wall in the form of an error:
| |
In this post we will see why this happens, how to fix it, and some brief guidance on how to start playing with K8sQuest in our Linux environment.
The problem: Systemd and Cgroups delegation
When we use Kind with Podman rootless, the system tries to create containers that act as “nodes” of our Kubernetes cluster. These nodes need to manage their own CPU and memory limits using cgroups v2.
By default, and for security reasons, systemd blocks a normal user from delegating these controls. Although the official documentation recommends modifying systemd configuration files or using systemctl --user, these solutions often fail silently or are simply not the easiest ones.
The solution
Instead of fighting with global session configuration or restarting services randomly, the most effective way that worked for me is to inject the permission directly at the moment of running the installer.
To do this, we wrap our installation script with systemd-run. This tool allows us to launch a process by creating a “scope” (an ephemeral environment) where we pass exactly the property it needs: Delegate=yes.
We move to the directory of the cloned K8sQuest repository and run the installation like this:
| |
When executing it, you will see a brief message indicating that it is running as a systemd unit (e.g. Running as unit: run-XXXX.scope), and then the installation will continue without issues until completion, creating the cluster correctly and all the required K8sQuest dependencies.
| |
Getting started with K8sQuest
Once the installer has finished, we already have our cluster up and running in Podman completely transparently and without compromising the security of our system by using the root account.
To start working with it, the usual steps are:
- Verify the cluster
We can make sure the Kind cluster has been created correctly by checking the nodes (remember that if you use Podman, you might need to export the KUBECONFIG variable if the installer indicated it):
| |
You should see the K8sQuest node(s) in Ready state.
| |
- Start the game
To start the game, we just need to open a terminal in the directory with the K8sQuest files and run:
| |

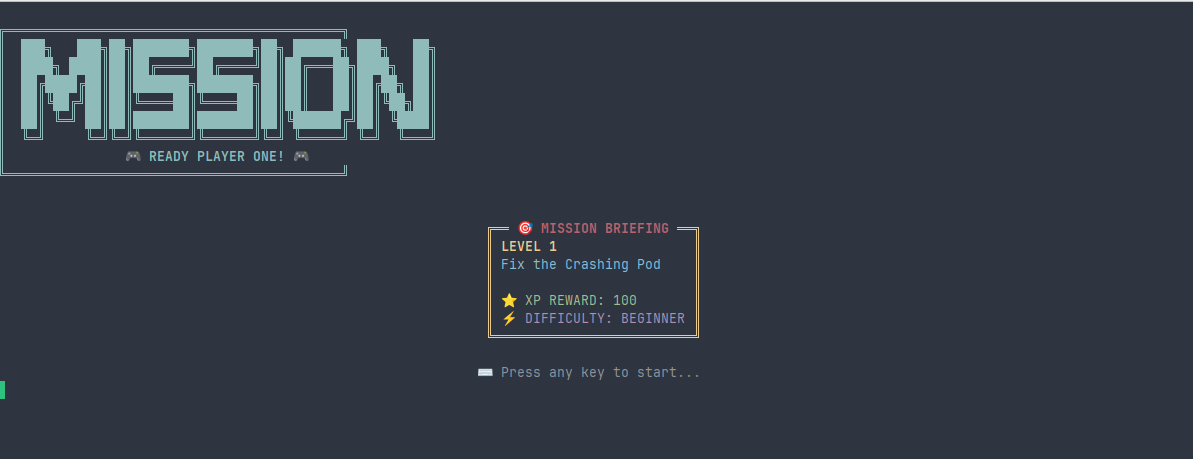
After accepting, our first mission will begin: “Fix the Crashing Pod”
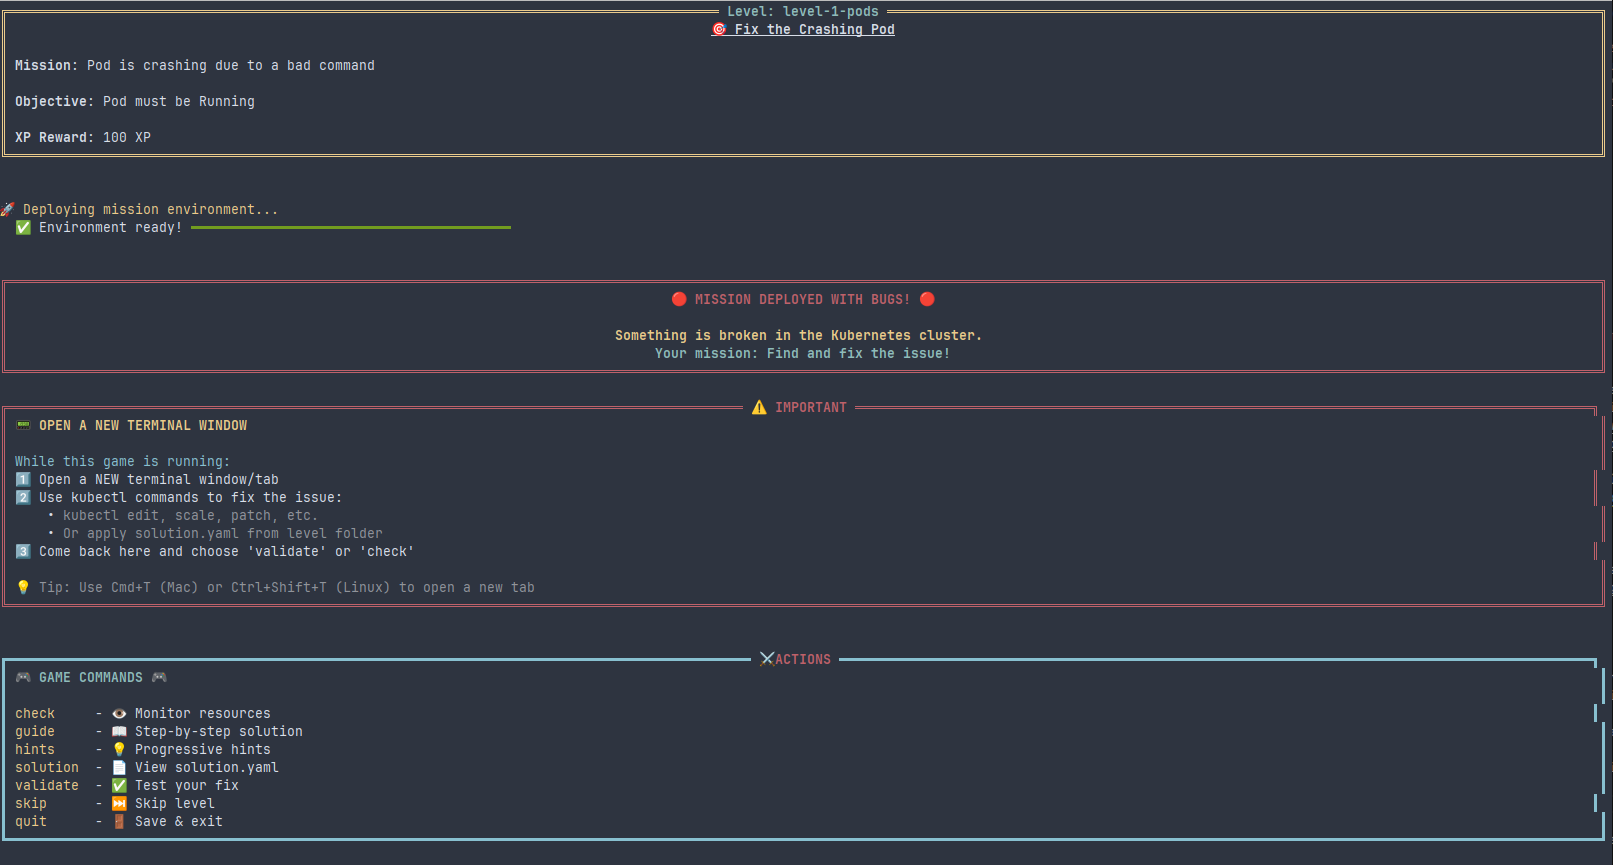
It gives a series of very important instructions to be able to play:
We must open a new terminal window/tab where we will “play”
We will use the
kubectlcommand to apply the solutionsWe will return to this tab to verify the solution.
Run K8sQuest
Since the entire cluster is contained within our Podman user environment, it can be managed comfortably. If at any point we need to stop the cluster to free up system resources, it can be done using the Kind CLI indicating the experimental provider:
| |
With all this, we now have a functional, lightweight, and secure Kubernetes environment on our Linux to keep tinkering and learning with K8sQuest. See you in the next post!
PS: The banner image of this post has been generated with AI.